
Color Throwdown Entry #613: Bat and Pumpkin Card


At DannysCards.com, we're in the midst of Halloween extravaganza. Over on The Color Throwdown blog, the challenge was focused around the perfect set of fall colors. Here were the colors for their newest challenge:

Immediately, I knew I was going to pull out my brand new bat and pumpkin dies. The results were a bit mixed, but the bat card came out better than expected. Here were the results:
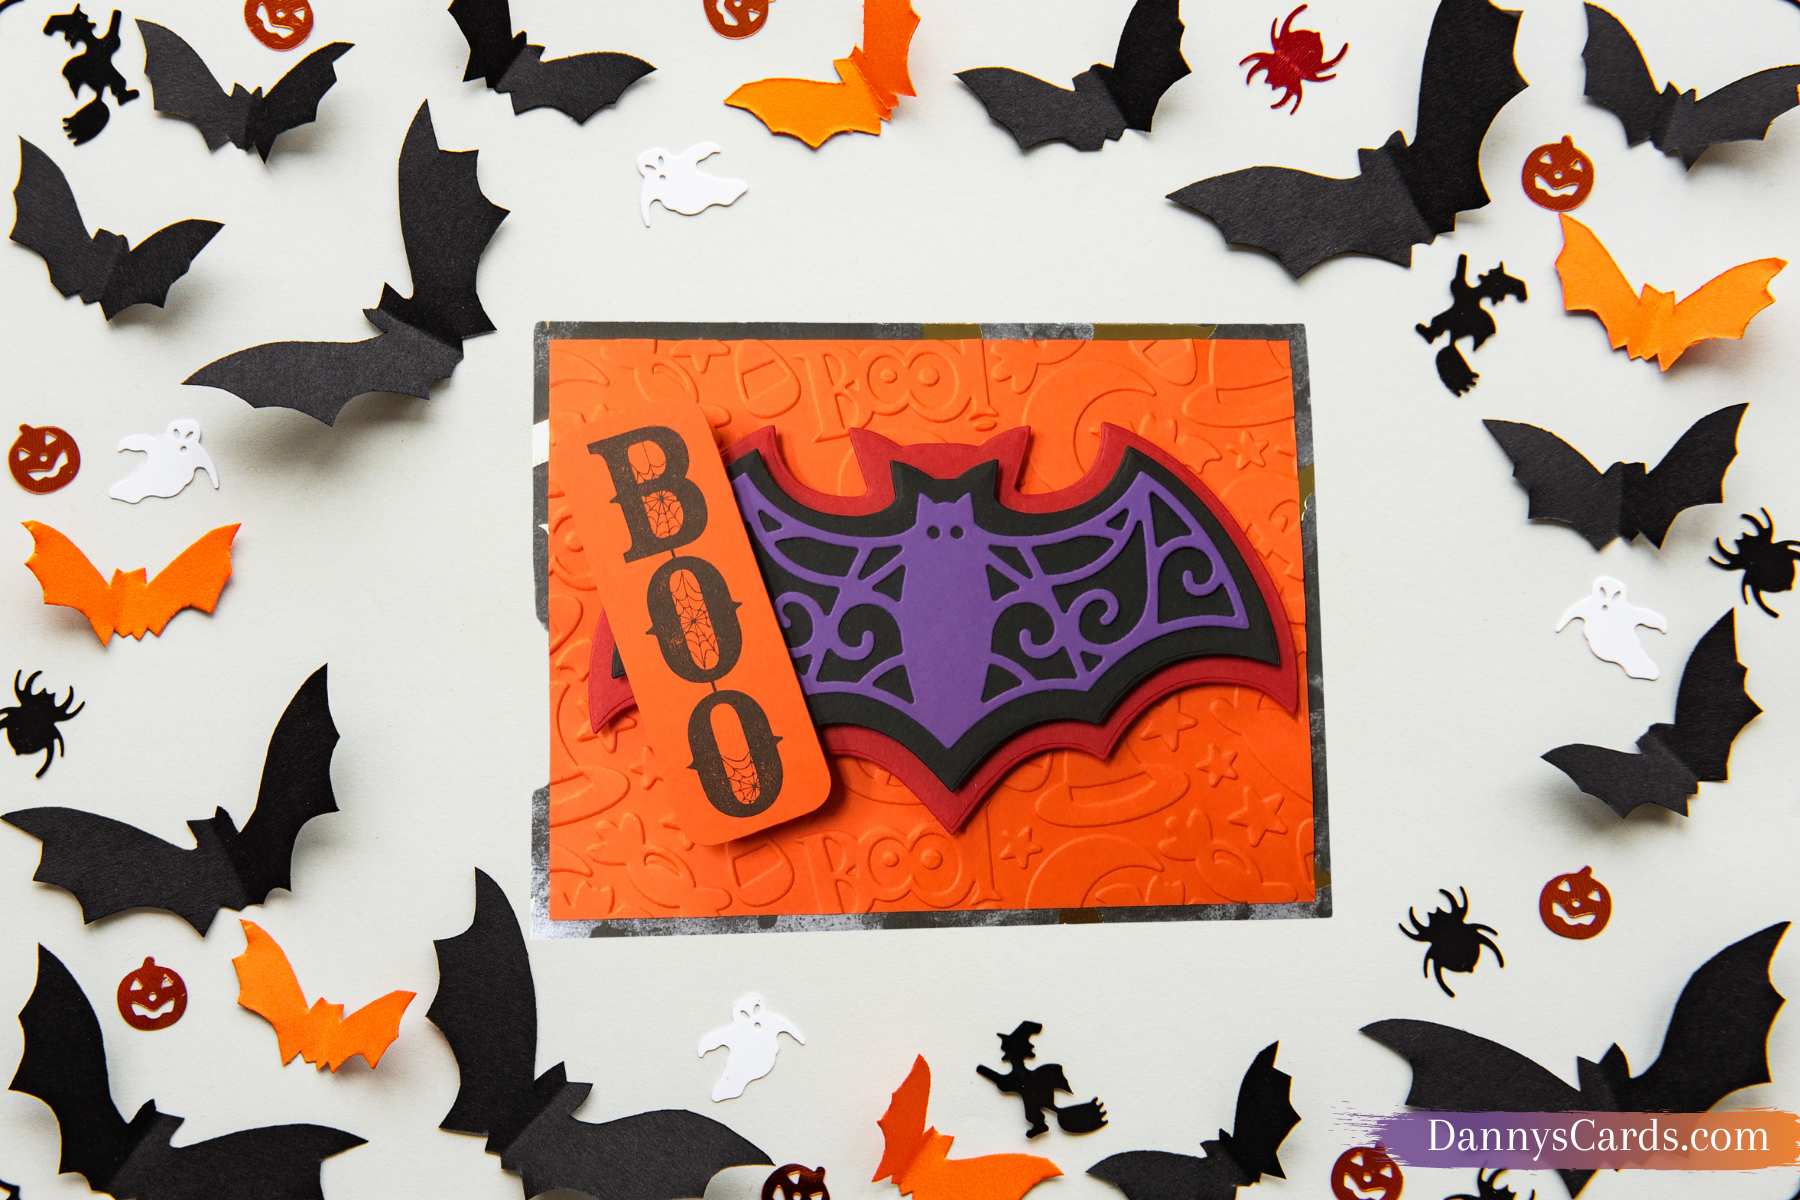

By embossing the background and using 3D dot adhesives, the card ended up with more dimension than I expected. Here's the card from a different angle:


The Halloween Bats Metal Dies are available from Michaels.com.

My original plan for this challenge was this pumpkin concoction. The results were solid, but it lacked the depth of the bat card. I would describe it as ho-hum. I'm going to have find a different way to utilize these pumpkins.


I tried to off-set the pumpkins to give it another layer. Here you can see the 3D dot adhesives working overtime:


These pumpkin dies are also available from Michaels.com.

And that was pretty much it for this weekend. Check back later this week for my scathing review of Cricut's new foil system and a whole new card design type. 

Be sure to follow me on Instagram @DannysCards

For more Halloween inspiration, check out my other Halloween cards:

Comments

  1. What a great bat design! Such fun textures in the cards! Thanks for playing along with us at the Color Throwdown this week!

    ReplyDelete

Post a Comment

Popular posts from this blog

Alley Cat Cards

While perusing Facebook, I saw a post today that caught my eye. The only Facebook card groups I am still apart of are JOANN Loves Papercrafters and a handful of Melody Lane and Cricut groups. The Anna Griffin Facebook groups are too filled with toxicity from the various mods. Today on Joann's, Anthony M showcased a fantastic blending technique with a bricks embossing folder using Distress Oxide. You can watch his full tutorial here .  Blending always looked like next level work. It's something I've avoided for about five years since I started my papercrafting journey. Today, thanks to Anthony, I took the plunge and invested in some distress oxides and an assortment of blending brushes. I used a variety of colors but the main stamp and die set I used were Tim Holtz's Cat Chat . All the coloring of the stamps were done with Copic Markers. I made four cards and assembled them after an assortment of sketches found on a variety of blogs. So without further ado: The simple sk...

I Love You to the Moon and Back Bendy Card

Update: While the competition wasn't heavily entered, I'll take my wins where I can get them, my card was a top pick on Try Stampin' on Tuesday. Over on Try Stampin' on Tuesday , they had one of the hardest challenges I've seen in a long while. The challenge involved either utilizing a particular sketch or making a bendy card. I'm one always up for a challenge, so a bendy card it is... the only problem... I had no idea where to begin. Here's the challenge they set up for us: I was convinced there would be some type of design already premade on Design Space that would allow me to make a bendy card of some kind, but there was no such luck. I took a look at Melody Lane's Patreon and Lori Whitlock's shop, and alas, no luck. This mean I had to work from scratch. Now granted, I could make the card using traditional techniques, but when I looked up tutorials, the whole process looked a little too intimidating for me. I knew this could be done on Design Spa...

Baby Cards: Sketch Challenges

Over on Anna Griffin, she recently released her Baby Icon Cut and Emboss Folders . Baby cards are often the hardest items for me to keep in stock. They're often my biggest sellers at trade shows, and as someone in their 30s, I know so many people having little ones. So I went to work. I really didn't know where to begin my day, so I started with creating a whole slew of sentiments. I often struggle with what a baby card should say, but Best Wishes kind of covers all the bases. But that didn't really help with inspiration. I went looking for Sketch Challenges. The first challenge comes courtesy of Sketch Saturday :  And here was my result: Using an assortment of pattern papers, I was really happy with the result. I ended up using the horsey cut so that the little mustache could peek through. Over on Try Stampin' on Tuesday , they're up to their milestone 500th sketch. Here was the sketch: And here was my creation based on that: I was thrilled with this result. It fe...