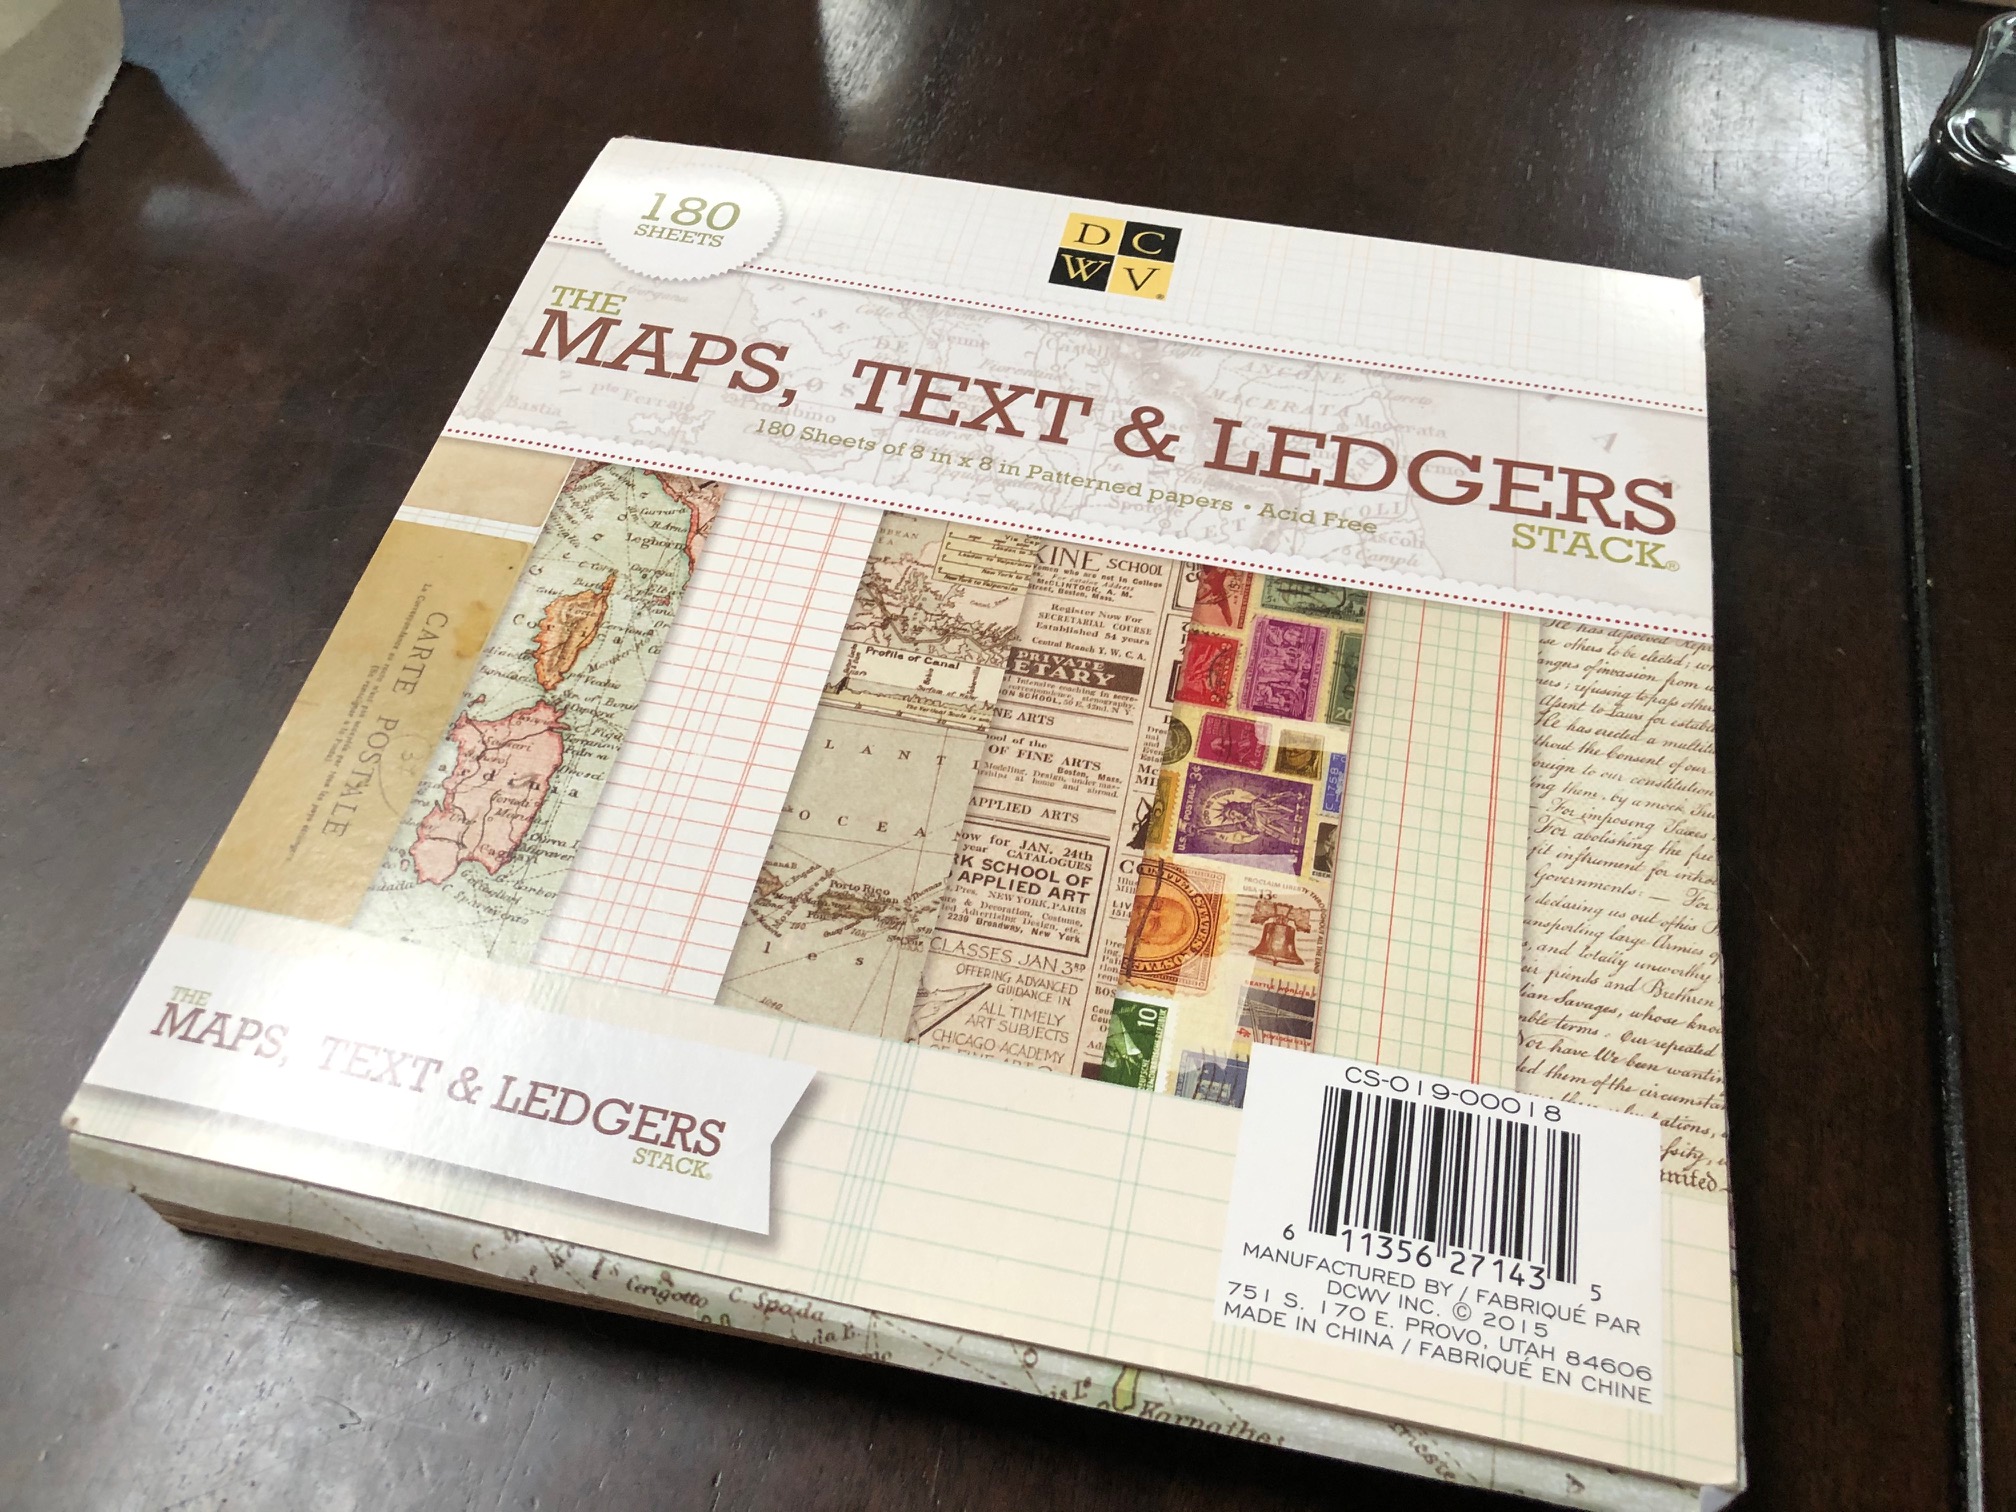
I, like many crafters, own more materials than a reasonable human can use in a lifetime. With approximately a Michael's worth of embossing folders, paper, stamps and washi tape, I set out to give myself a small challenge this week. Make 10 cards using just two main materials. The first is this gorgeous card pack called
Maps, Text & Ledgers.
 |
If you decide to purchase this, just know the paper sub
60lb weight, so it will need reinforcement.
|
And the next is this Journey embossing folder and stamp set from Sizzix.
 |
| This is a bit of a tough to find set. You can find it on ebay for around $14.99. |
Here were the 10 cards that I made. Hopefully you find some inspiration along the way.
My first day were all cards with A2 dimensions (8.5" x 5.5")
1. In my first card I used the map and cut it using a banner die. I then used the globe stamp as is and placed it on black cardstock, using 3D adhesive dots to give it a little dimension.
2. Something about these maps made me feel like they were love cards in some sense. Using heart die cuts, this is the end result. I tore the bottom of the map to give it a more vintage look.
3. This card was a complete mistake. I intended to do a symmetrical cut of this region of Europe. Unfortunately, bad measuring got in the way. Never one to waste scraps, I just set them off from each other. Each section measures roughly 1.3in. I then used 3D adhesive dots for the center frame.
4. One of the stranger card stocks in the Maps, Texts & Ledgers pack are these compass sections. I really like the boldness of the color. I took a piece of green cardstock and happen to have a compass embossing folder. I'm much more a fan of vertical cards, but this horizontal card felt like a nice surprise.
5. I wanted to try something I never did before, so I made a three panel stand card. In truth, I think it's ugly. I don't get these cards as it's hard to personalize a card that doesn't really open. I put in some banners for some writing space. If you want to make this card, using A2 dimensions, score at lines: 2, 3 and 1/8th, 5 and 3/8th, and 6.5in. Thanks to
Stamp of My Heart for the inspiration and design info.
6. For my final A2 card, I wanted to emphasize the world. Using the map as a background, I used the World Traveler Embossing Folder to layer, and then placed the globe on top. Again, 3D Dot adhesives are your friend.
Day 2 were all cards using A5 dimension (10" x 7")
7. The cardstock for the background here came from the
Country Farm House Recollections collection. While I mainly used maps from the Maps, Texts & Ledgers, these three "tags" were created from the postcards. I then used a hole punch and twine to give it that country feel.
8. This simple design uses cardstock from the
Flea Market Recollections collection. I love this distressed look and wanted that to stay the focus. This is where I used the Ledgers from the Maps, Texts & Ledgers and just stamped the Statue of Liberty haphazardly to give it another dimension.
9. This background cardstock is also from the Flea Market Recollections collection. I used rectangle die cuts with x-hatch to cut the map twice over. I then propped all the pieces on black cardstock and used 3D adhesive dots to give it lots of dimension. To finish it off, I tied twine on the side to keep that rustic feel.
10. My final card was something completely different. While I mainly stuck with browns, it didn't dawn on me that I could stamp the globe on different color paper to make it look... well... like a globe, until the end of my second crafting day. For my final card, I used the
flight path embossing folder on water blue card stock to make the globe pop. The background paper is from the
C'est La Vie Recollections collection.
Have you ever used the Maps, Texts & Ledgers cardstock or something equivalent? Feel free to drop a comment below with your ideas or tell me which one of the cards were your favorite. Thanks for reading!


Comments
Post a Comment